Going vertical: gridwall, shelves and hooks
Get the work up to eye level. Which folding shelf for what, when gridwall beats a shelf, and which hook length does which job.
Walk down any aisle at a show and watch where people look. Not down at the tables. They look straight ahead, at about five feet, and they slow down for whatever is there. A booth that lives entirely on a table top is asking people to stop and look down before they can even see what you make.
Going vertical fixes that, and it does two other things: it doubles or triples how much you can show in a 10 by 10, and it gives the booth a back wall, so it reads as a shop instead of a table in a field.
Folding shelves: the easy start
A folding shelf is the fastest way up. It opens in seconds, needs no tools, and rolls into place. Put one at the end of the table, or two along the back edge, and you have three to five more surfaces at three different heights.
Pick the height by what you sell and how tall you want the booth to feel. Three tiers stays below the table sightline and works as a riser at the end of it. Four is the everyday choice. Five stands 59 inches, which is eye level for most people, and makes a good back wall on its own. The six-tier is a different frame: its shelves stretch from 20 to 30 inches wide, the heights adjust, and it comes apart into two shorter units when a layout changes.
 Himix 3-Tier Folding Shelf with WheelsTable-end riser, or a low display for heavy piecesAbout $55
 Himix 4-Tier Folding Shelf with WheelsThe everyday choice: four surfaces, 46 inches tallAbout $70
 Himix 5-Tier Folding Shelf with WheelsEye level at 59 inches; a back wall on its ownAbout $80
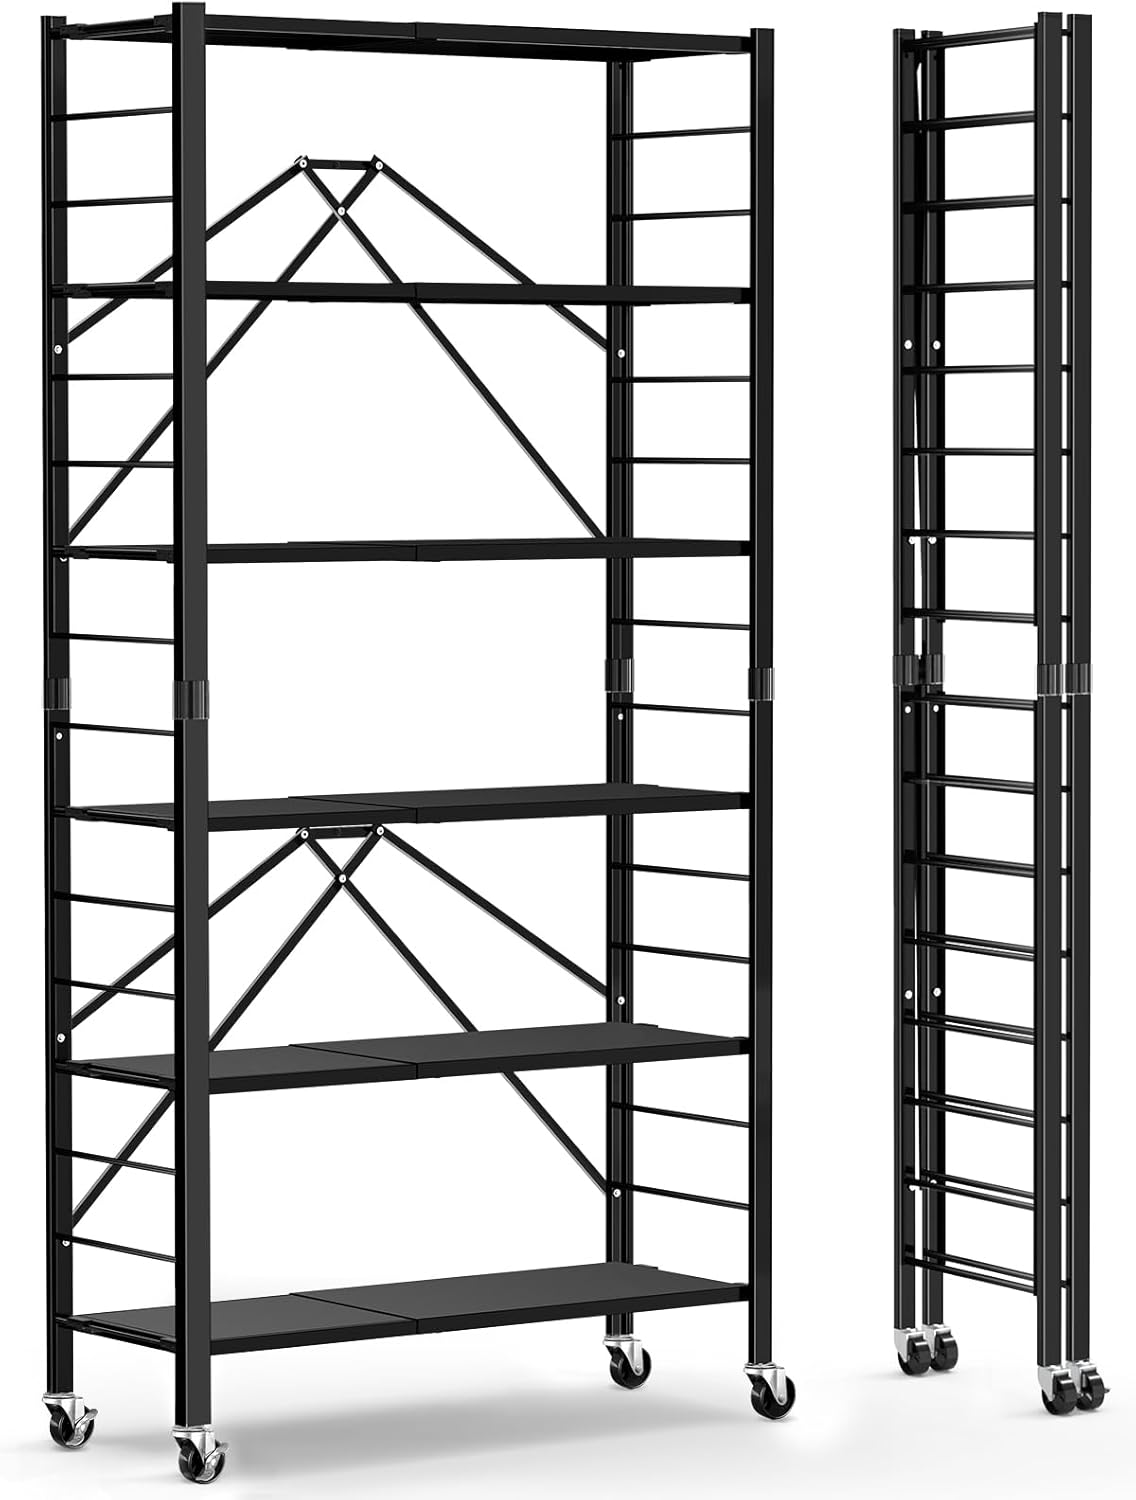 Himix 6-Tier Folding Shelf, ExpandableExpandable shelves; splits into two unitsAbout $135
Load the heavy things low. A folding shelf with a full bin on the top tier and nothing below it will walk when the wind catches the tent.
Gridwall: for anything that hangs
Gridwall is the wire panel you see in every retail store, and it is the answer for anything that hangs: earrings on cards, keychains, bagged goods, small prints in sleeves, anything with a hole in the header. A tower on a wheeled T-base stands on its own, so you can put it wherever the light is, and two of them make a proper back wall.
Two widths. The 2 foot towers are lighter and fit a narrow spot beside the table. The 3 foot towers hold half again as much at eye level and make a wall of product out of a 10 foot booth back. Both come as two 3 foot panels that screw end to end, so each tower runs short at 3 feet or tall at 6.
 Gridwall Panels, 2 ft x 6 ft on T-Bases, 2-PackTwo towers, 2 ft wide, 20 hooks in the boxAbout $113
 Gridwall Panels, 3 ft x 6 ft on T-Bases, 2-PackTwo towers, 3 ft wide, a full back wallAbout $174
Hooks: three lengths, three jobs
Gridwall is only as useful as the hooks on it, and running out of hooks at 8 a.m. is a particular kind of misery. A box of fifty is cheap insurance.
- 2 inch holds one or two carded items: earrings, a single keychain, a card. Rows of them make a dense wall of small things.
- 4 inch takes a stack: five or six carded items, or bagged goods that need a little depth.
- 6 inch is for bulk or big: a row of the same item, wide bags, anything a customer flips through.
 Gridwall Hooks, 2 inch, 50-PackOne or two carded items eachAbout $31
 Gridwall Hooks, 4 inch, 50-PackA stack of five or sixAbout $35
 Gridwall Hooks, 6 inch, 50-PackA row of the same thing, or wide bagsAbout $38
Check the grid spacing before you buy hooks. Gridwall comes in 2 inch and 3 inch grids, and a hook made for one does not sit right on the other. The hooks above are listed for a 3 inch grid; the Eastern Tree panels above are listed at 2 inches on center. Both towers ship with 20 hooks that fit, so start with those, and match any extras to the panel you own.
A layout that works in a 10 by 10
- Two gridwall towers across the back, side by side, for everything that hangs.
- The table across the front or down one side, with a 3-tier shelf at its end as a riser.
- A 4 or 5-tier shelf on the open side for boxed and stacked pieces.
- Leave yourself a way in and out behind the table. An open-back tablecloth helps here.
Plan it on paper the night before, or lay it out in the Booth Layout tool, so setup morning is placing things, not deciding things.
Packing it
The folding shelves fold flat in one motion and go in the car last, so they come out first. Gridwall towers come apart by loosening four screws by hand; the panels stack flat and the T-bases nest. Hooks live in a lidded bin, never loose in a bag, or you will be picking them out of the tablecloth for a month.
Every piece in this guide is in the Gear Shop under Display, with a note on why we picked it.